To clean your Thai mortar and pestle, start by gathering hot water, a brush, scouring pad, and white rice. Begin with a hot water rinse to remove debris and sanitize. Next, scrub thoroughly with the brush and pad, paying attention to grooves and rough areas. Season the mortar by grinding white rice multiple times, then hand wash with warm water. Repeat the grinding process to remove residues and trapped flavors. Dry completely, then store in a dry, well-ventilated area away from sunlight and humidity. Cover with a clean cloth when not in use. Follow these steps to maintain your mortar and pestle's condition and ensure consistent flavor extraction.
Table of Contents
Key Takeaways
- Rinse the mortar and pestle with hot water to remove initial dust and debris.
- Scrub thoroughly with a brush and scouring pad, focusing on grooves and rough areas.
- Season the mortar and pestle by grinding white rice multiple times.
- Repeat the grinding process to remove residues and trapped flavors.
- Clean with warm water only, dry completely, and store in a well-ventilated area.
Gather Cleaning Supplies
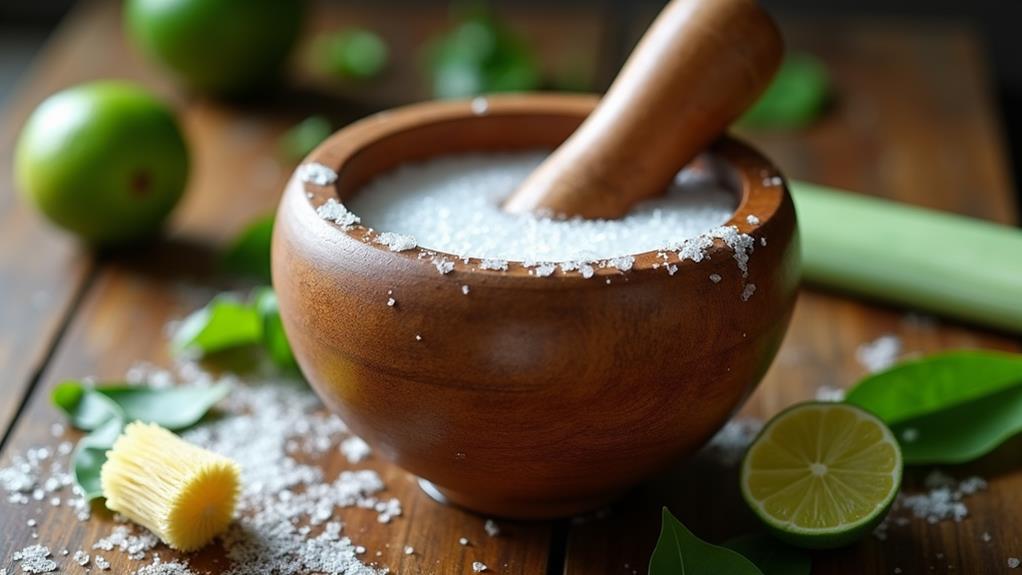
Before you start cleaning your Thai mortar and pestle, it's important to gather the necessary supplies. You'll need three key items: hot water, a brush or scouring pad, and white rice. Each of these components plays a significant role in the cleaning process, ensuring your mortar and pestle remain in ideal condition.
Hot water is essential for loosening food particles and residue that may be stuck to the surface of your mortar and pestle. It helps to break down oils and other substances, making them easier to remove.
A brush or scouring pad is your primary tool for scrubbing away stubborn residue. Choose a brush with stiff bristles or a scouring pad that won't scratch the surface of your mortar and pestle.
White rice serves a unique purpose in the cleaning process. It's used for seasoning the mortar and pestle, effectively removing trapped flavors and aromas from previous use. This step is important for maintaining the integrity of future dishes you'll prepare.
Initial Hot Water Rinse
With your cleaning supplies at hand, it's time to begin the initial hot water rinse. This pivotal first step in cleaning your Thai mortar and pestle serves multiple purposes. Start by running hot water over both the mortar and pestle, ensuring you cover all surfaces thoroughly. The hot water will effectively remove any dust or debris that may have accumulated during storage or transport.
As you rinse, pay close attention to the crevices and grooves of the mortar. Hot water helps loosen any stubborn food particles that might be stuck in these hard-to-reach areas.
This initial rinse also acts as a sanitizing measure, as the heat helps eliminate potential bacteria on the surface.
Don't rush this step; allow the hot water to flow over the entire surface for at least 30 seconds. This quick yet effective rinse prepares your mortar and pestle for the more thorough cleaning process that follows.
Scrubbing and Removing Residue
Three key tools are necessary for effectively scrubbing and removing residue from your Thai mortar and pestle: a sturdy brush, a scouring pad, and some elbow grease. Begin by thoroughly scrubbing the entire surface, paying special attention to the interior grooves and rough areas where food particles tend to accumulate. Use circular motions to dislodge any stubborn residue.
| Area to Clean | Scrubbing Technique |
|---|---|
| Interior | Circular motions |
| Exterior | Up and down strokes |
| Pestle | Rotating motion |
| Crevices | Targeted scrubbing |
Make sure you're removing all remnants to prevent flavor contamination in future use. The pestle requires equal attention; rotate it while scrubbing to clean all sides. Don't forget to clean the exterior of the mortar as well, using up and down strokes for best results.
Proper scrubbing is essential for maintaining the hygiene of your Thai mortar and pestle. It's not just about aesthetics; thorough cleaning prevents the growth of harmful bacteria and ensures the purity of flavors in your future culinary creations. Remember, a well-maintained mortar and pestle will serve you well for years to come.
Seasoning With White Rice
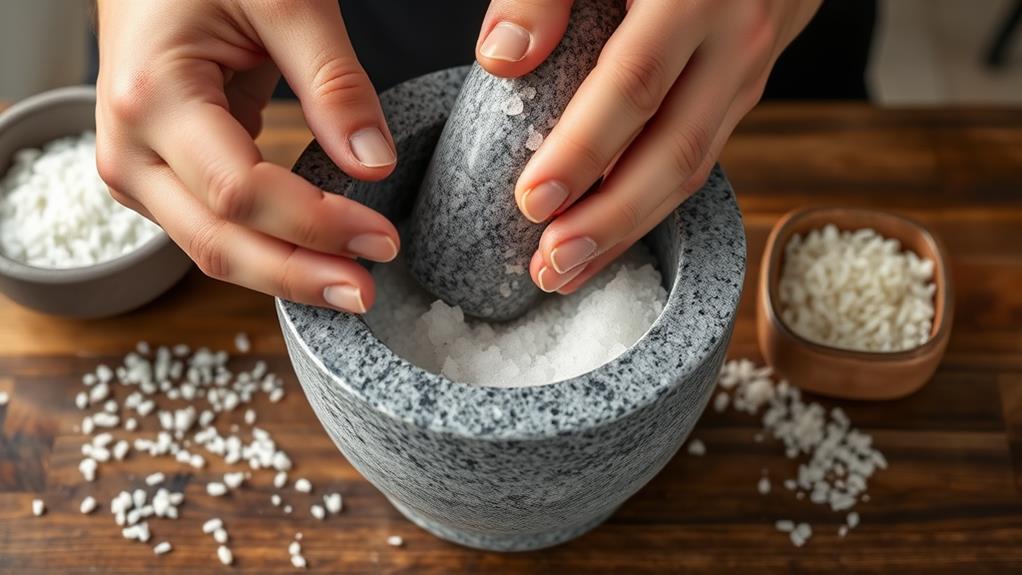
An essential step in preparing your Thai mortar and pestle for use is seasoning it with white rice. This process is pivotal before your first use, as it helps remove any stone dust or residue from manufacturing. To care for and clean your mortar and pestle properly, you'll need to grind white rice in it multiple times.
Start by adding a handful of white rice to the mortar. Use the pestle to grind the rice into a fine powder, applying firm pressure and circular motions. This action smooths out any rough spots and creates a polished surface for better grinding. It also absorbs any lingering odors or flavors, ensuring purity in future ingredients.
Continue this process, discarding the ground rice and adding fresh rice each time. Repeat until the powder produced is completely white, indicating a thoroughly seasoned mortar and pestle. This repetition is necessary to achieve optimal results.
After seasoning, hand wash your mortar and pestle with warm water only. Avoid using soap, as it may leave residues. The seasoning process not only cleans but also helps prevent ingredients from sticking during future use, making your Thai mortar and pestle ready for culinary adventures.
Repeat Grinding Process

You'll need to repeat the grinding process with white rice several times to guarantee thorough cleaning and seasoning of your Thai mortar and pestle.
This repetition gradually removes residues and trapped flavors from the granite pores, preventing flavor contamination in future recipes.
Consistent Flavor Extraction
To achieve consistent flavor extraction from your Thai mortar and pestle, repeat the grinding process multiple times. This method not only helps season the utensil but also removes any remaining stone grit or residue. Make sure you're thorough in your approach, as this whole process is specifically made to enhance your mortar and pestle's performance.
Grind white rice or garlic cloves in a circular motion to break down any lingering particles. This technique aids in seasoning the mortar, which prevents future ingredients from sticking during use. You'll notice that with each repetition, the surface becomes smoother and more effective at extracting flavors.
Consistency is key when cleaning and repeating the grinding process. By doing so, you're ensuring ideal flavor extraction for your dishes. As you continue this practice, you'll find that your Thai mortar and pestle becomes increasingly efficient at releasing the full spectrum of flavors from your ingredients. This meticulous approach to seasoning and maintaining your utensil will result in more authentic and flavorful Thai dishes, elevating your culinary creations to new heights.
Thorough Seasoning Process
The complete seasoning process for your Thai mortar and pestle is a key step that builds upon the consistent flavor extraction techniques. It's a good idea to season your mortar and pestle before its first use to ensure top-notch performance and safety.
Begin by grinding white rice into a fine powder, which serves multiple purposes. This action removes any stone grit or dust residue that may be present, smooths out the surface for better grinding results, and eliminates potential stone flavors that could transfer to your food.
The seasoning process is made specifically to prepare your mortar and pestle for efficient use in your kitchen. Repeat the grinding process multiple times with fresh batches of white rice until you're confident that the surface is smooth and clean. This thorough approach guarantees that no unwanted stone particles will mix with your ingredients during future use.
Gradual Residue Removal
Three key steps comprise the gradual residue removal process for your Thai mortar and pestle.
First, you'll need to repeat the grinding process using white rice. This method effectively absorbs leftover flavors and odors from previous use, thanks to the porous nature of the granite surface.
Second, continue grinding until you've removed all trapped particles and oils, guaranteeing a clean and fresh surface for your next use.
Finally, make this cleaning technique a regular practice to maintain the integrity and hygiene of your mortar and pestle.
The gradual residue removal process offers several benefits:
- Acts as a gentle abrasive to scrub away residues
- Doesn't harm the mortar and pestle surface
- Helps maintain long-term usability
- Secures a hygienic cooking tool for each use
Thorough Drying
Four crucial steps comprise the thorough drying process for your Thai mortar and pestle.
First, use a clean, dry cloth to wipe down all surfaces of both the mortar and pestle. Make sure you're reaching every nook and cranny, as moisture can hide in small crevices.
Next, pay special attention to the porous granite surface. It's essential to guarantee no moisture remains trapped in these tiny pores, as this can lead to flavor contamination in future use. Run your fingers over the surface to detect any remaining dampness.
Third, allow your mortar and pestle to air dry completely. Place it in a well-ventilated area, away from direct sunlight or heat sources. Depending on your climate, this process may take a few hours.
Proper Storage Techniques

Safeguarding your Thai mortar and pestle's longevity begins with proper storage techniques. To maintain its quality and prevent damage, you'll need to choose an appropriate storage location and follow specific guidelines.
Store your mortar and pestle in a dry, well-ventilated area away from direct sunlight. This approach prevents mold growth, odor retention, and discoloration. Avoid humid environments, as they can compromise the integrity of your utensil. To further protect your mortar and pestle, consider covering it with a clean cloth or towel when not in use.
Here are key storage techniques to remember:
- Keep in a dry place to prevent mold growth
- Avoid humid environments to maintain quality
- Store away from direct sunlight to prevent damage
- Place in a well-ventilated area to avoid odor retention


